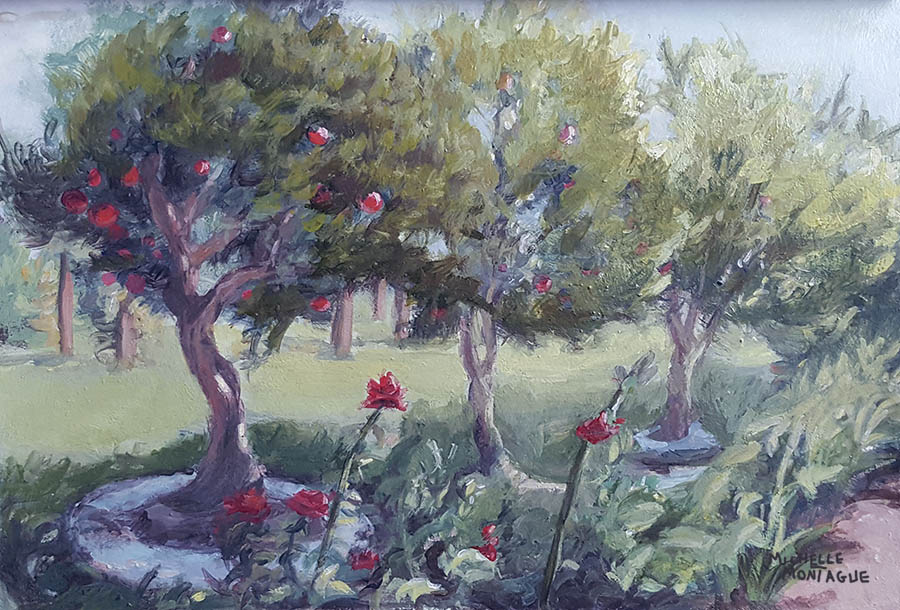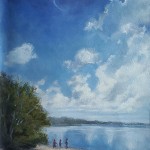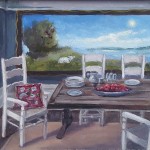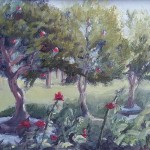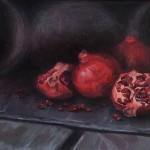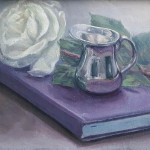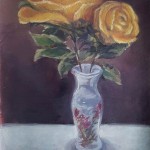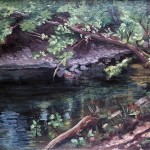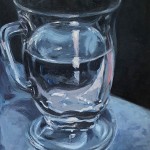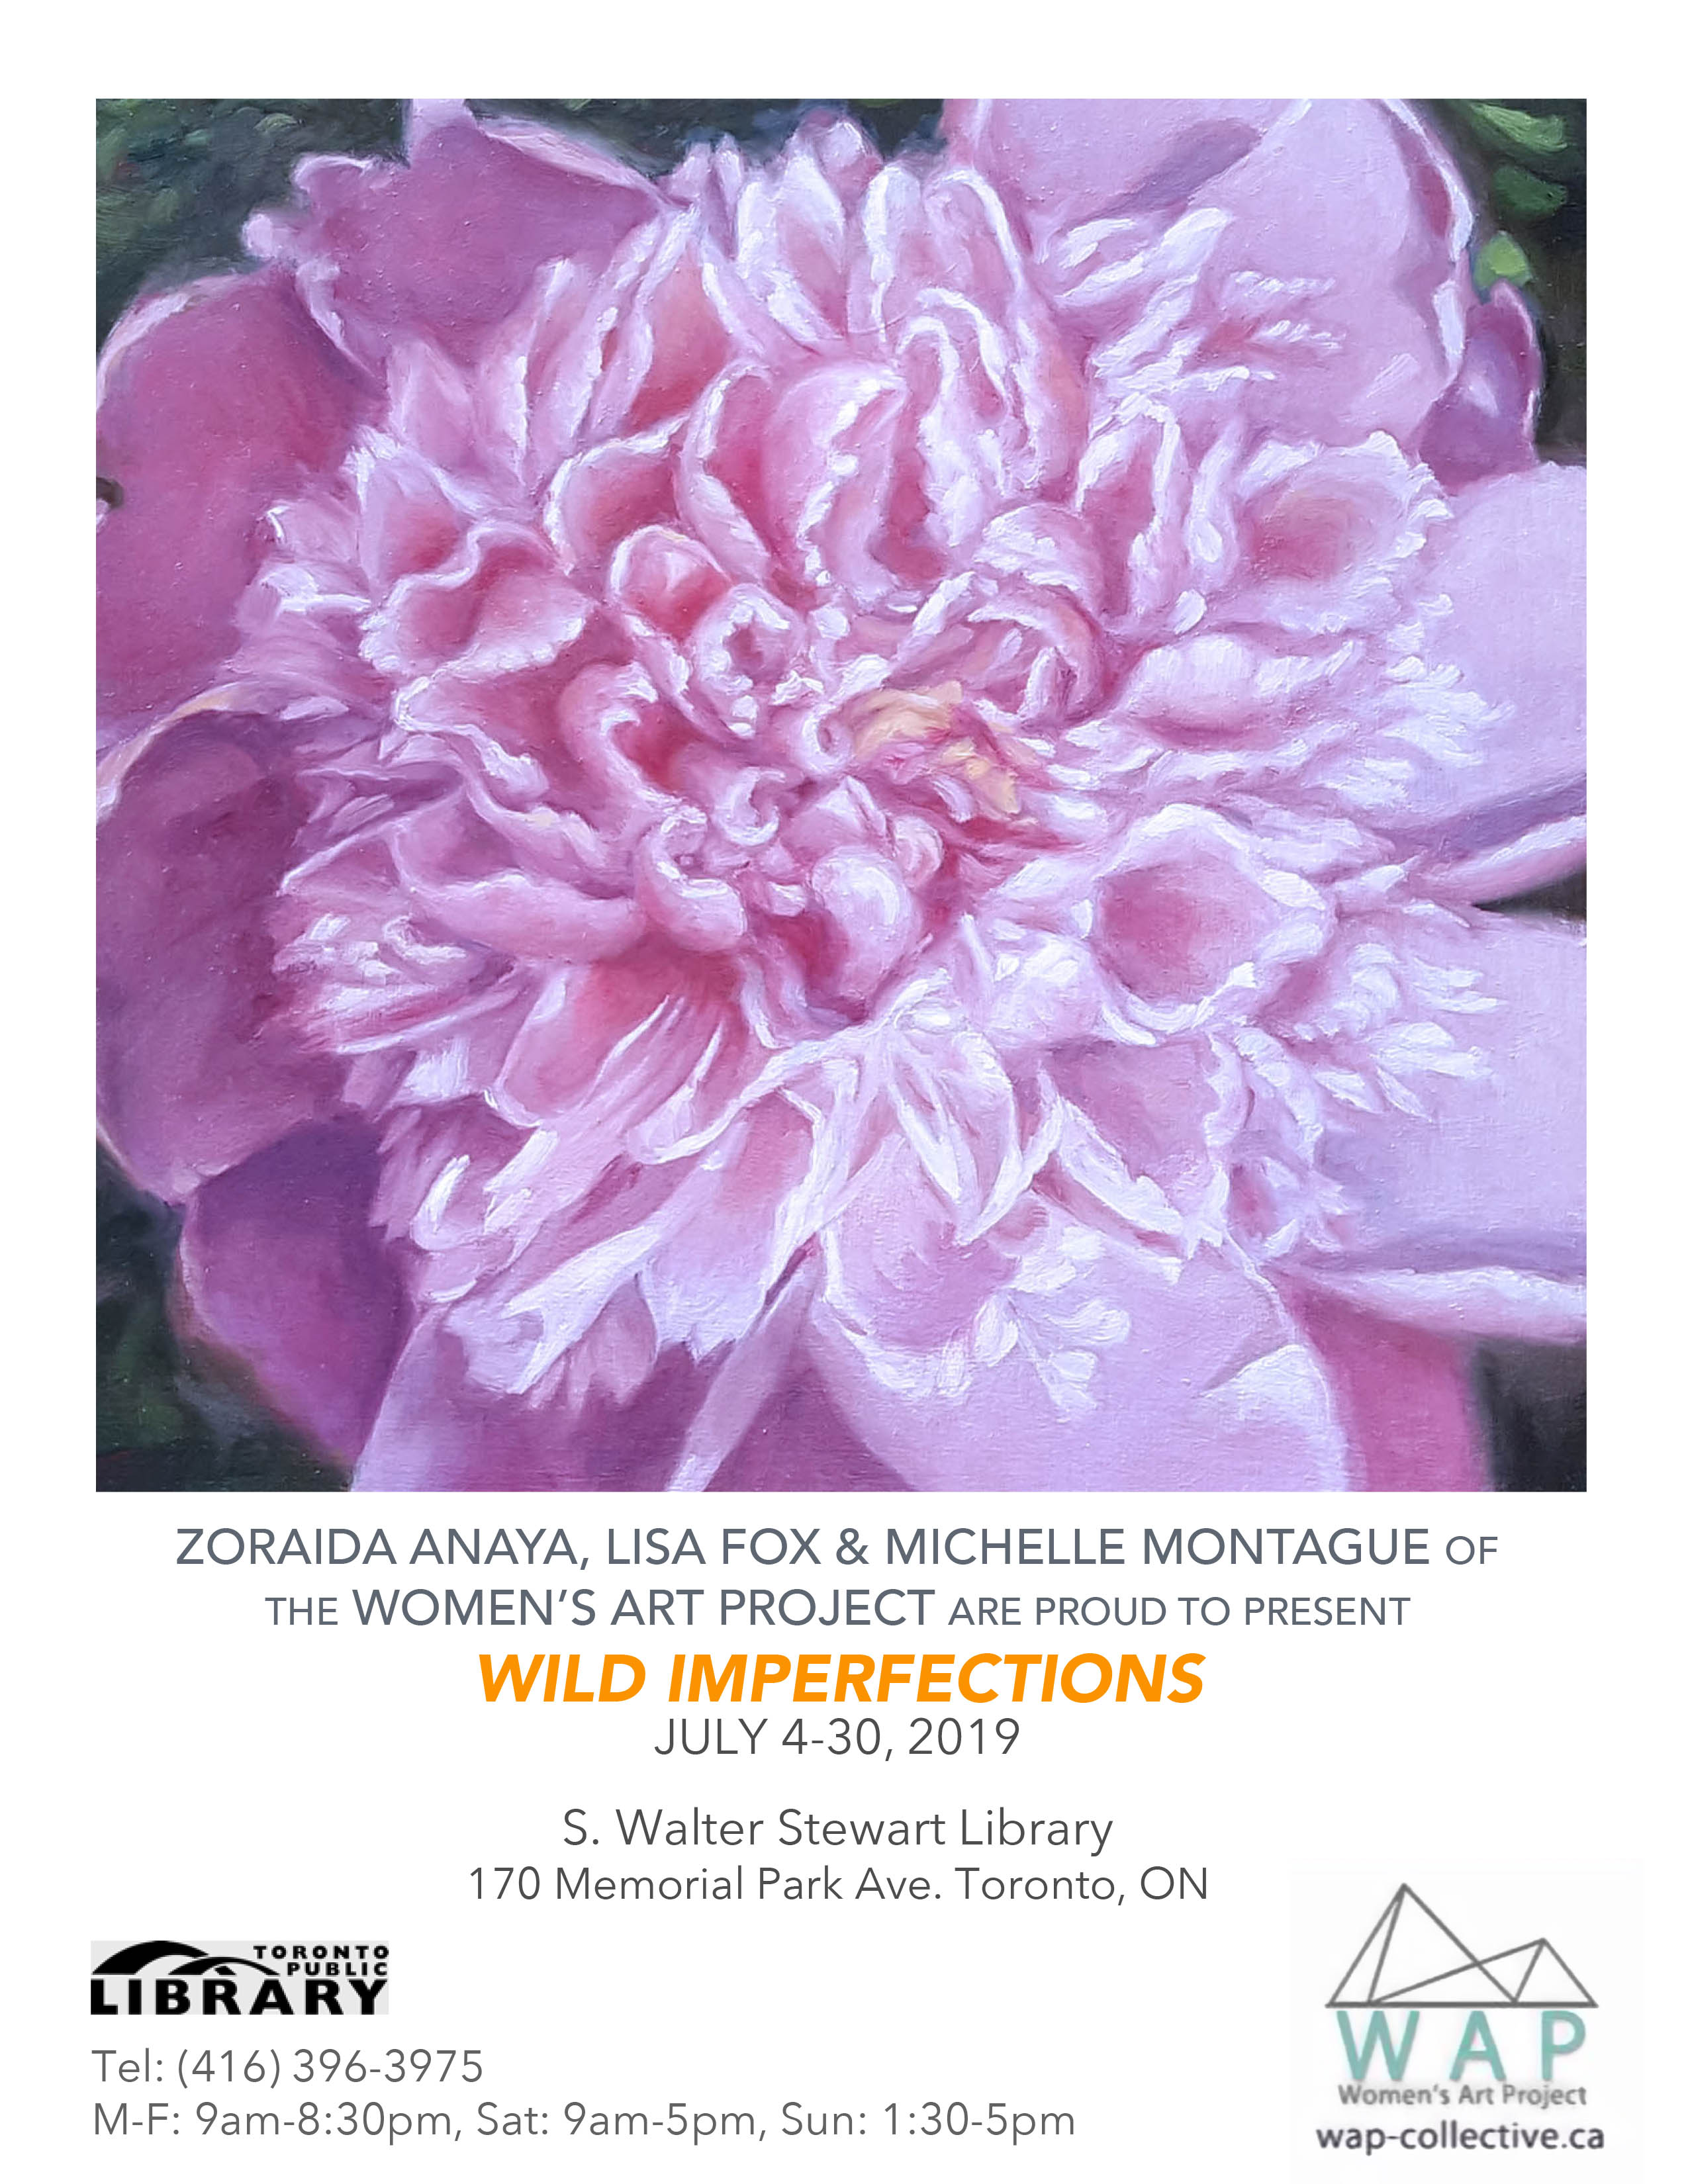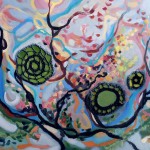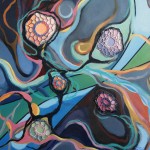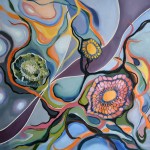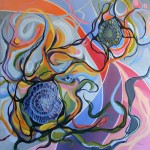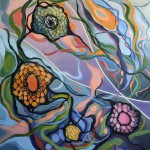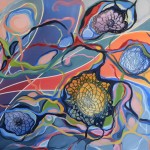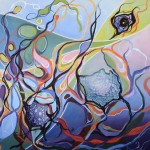
Coming soon: Wild Imperfections at S. Walter Stewart Library, July 4-30 , 2019

Wild Imperfection, S. Walter Stewart Library, July 3-30, 2019

Wild Imperfection, S. Walter Stewart Library, July 3-30, 2019

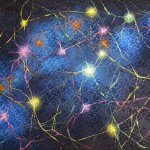
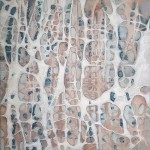
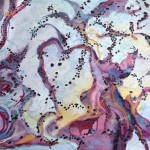
From July 3-30, 2019 fellow artists Zoraida Anaya, Lisa Fox and I will feature our latest work in an art exhibition entitled Wild Imperfections at the S. Walter Stewart Public Library.

The multidisciplinary exhibition features work in mixed media, painting and photography and is part of the Women’s Art Project (WAP) Collective initiative. The artistic intention of the collective is to make experimental work in a supportive, inspiring and collaborative environment.

Exhibition Dates: July 4 to 30, 2019

S. Walter Stewart Public Library
170 Memorial Park Avenue, Toronto, ON  M4J 2K5
Phone: 416-396-3975

Hours:
Monday to Friday, 9:00 AM – 8:30 PM
Saturday, 9:00 AM – 5:00 PM
Sunday, 1:30 – 5:00 PM


Mere Bodies or Something More?

Broken Hearted - June 2018

Mere Bodies or Something More? (July 2018 – ) In life, we think of our experiences thus far, and what the future holds for us. But when faced with our own mortality, we think of things we took for granted, and what else we could’ve done better. Health is often the catalyst for change, leading us to question life, death and thereafter.

Regardless of lifestyle, the body seems to have a language of its own which manifests through physical, changes. And our transformation takes us from where we were to what we become.

We also share an emotional connection through indirect experiences. Events such as bearing witness to the birth of one life, or grieving the death of another are indirect experiences which allow us to explore the meaning of body as a vessel. “Can we fully comprehend that which makes a body more than just a mere body without the direct experience of its absence?

Mere bodies or something more? is an introspective look at the human body as a physical and spiritual vessel. An interpretation of how one may experience health changes while contemplating mortality and spirituality.

The Story of the Sun and the Moon: An Inspiration

Celestial Dance - by Michelle Montague

Celestial Dance, May 22, 2017, 39″x 63 1/2″, acrylic, ink, oil sticks on canvas

“Tell me the story about how the Sun loved the Moon so much he died every night to let her breathe.”

The quote itself have inspired, writers, poets and artists alike. Though the quote’s cultural origin is unknown, many believe its roots come from an earlier folk-tale Why The Sun Chases the Moon. However, there are several Sun and Moon mythologies around the world which may have inspired the quote as well. Whether depicted as lovers, siblings or mother and son, each cultural myth offers its own explanation of how the celestial bodies depend on each other for life, which would otherwise not exist.

As part of the 4 Cardinal Points exhibition, my newest work Celestial Dance (shown above) depicts the setting sun and the rising moon. The sun has to die every night so the moon can live, for without the sun there would be no moon. They depend on each other and her death every morning gives him life. It is their bond that gives each other what they want and need.

I’ve included a variation of the story below:


“Tell me the story about how the sun loved the moon so much he died every night to let her breathe.”

There once was a moon, as beautiful as can be, only the stars could fathom, but the sun could not see. The sun so radiant, he burns so bright. The moon so luminous, but only showed her face during the night. She was untouchable, surrounding herself with a blanket of darkness. The sun would give anything to catch a glimpse of the Moon illuminating the beautiful night sky.

Until one day when the Sun was sliding out of the heavens, he caught a glimpse of her. She was peeking up, a rare side of her being exposed to the light. And while the Sun could shine, he knew the Moon could glow.

Just as the Stars were wandering into the night, the Sun fell in love like a snowball hurdling down a mountain. How he wished to see her move than the fleeting moments he shared with her at both dawn and dusk. But they were a world apart.

“Go,” she whispered to him one of those nights, her voice as sweet and sorrowful as the last light of morning. “Go and let me breathe, for you and I have decided fates. You illuminate the day, and I cast a glow on the night. We will never be. Our connection would go against what all the people believe, all they know” During the summer he would stay a little longer just in case she would change his mind. It was no use.

“Don’t you dare abandon your blessing of light for my darkness.” And those were the last words the Moon was strong enough to speak to the Sun.

The Sun could feel her peaceful soul and it soon became clear. He would die each and every night to let his true love breathe, for it would put an end to all her misery.


Let’s Paint! A Fun Exercise in Mixing Colours

For the month of March, fellow artists Zoraida Anaya, Lisa Fox and I launched our exhibition titled My World, Our World at the Smith Zone Gallery of Lakeshore Arts. The exhibition was part of the Women’s Art Project artist collective, a multidisciplinary and diverse group of women artists. To close the exhibition we were invited to the gallery’s special edition of Open Studio as their guests. An open studio is an event that offers art creators and enthusiasts a fun and supporting environment to discuss and create art. Lakeshore Arts hosts such an event every Friday (unless otherwise noted), from 12-4pm. If you haven’t been to an open studio and are looking for a little inspiration, I highly recommend checking out Lakeshore Arts!

In the session I decided to do an exercise of mixing colours directly on the canvas and thought to share with you my process. In my last post I mentioned that I like to create my palette by mixing the primary base colours of red, yellow and blue. If you want to build your technique in mixing colours then I recommend doing this exercise. If not, then try it anyway just for fun! This exercise will help you:

  • create greater colour-harmony and balance in your painting
  • think about composition
  • learn how to use warm and cool colours effectively to create contrast
  • become familiar with working with your paint medium, giving you greater control

I used inks because they’re fluid and easy to blend making them ideal for this exercise. However you can use any paint medium such as acrylics, watercolours, oils etc… In fact, I repeat this exercise using different mediums to build strength in working with them. Now with that said, let’s paint!

What you need:

  • A red, yellow and blue based paint, black and white (Ink, or soft-bodied acrylic paint)
  • Brushes: If using acrylic paints a round soft bristle synthetic brush will work. For inks, a natural bristle calligraphy brush, bamboo or Chinese ink brush will work best.
  • Cold-pressed paper, canvas or canvas board
  • Water container for rinsing brushes and re-wetting paint
  • Paper towels for wiping excess paint off brush if needed

Note: If using heavy-bodied (thick) acrylic paints, you will need 5 small containers (one for each colour) to thin out your paint with a little water.

Since we are actually mixing the colours directly on the paper or canvas, we will not need to pre-mix the colours on a paint palette.

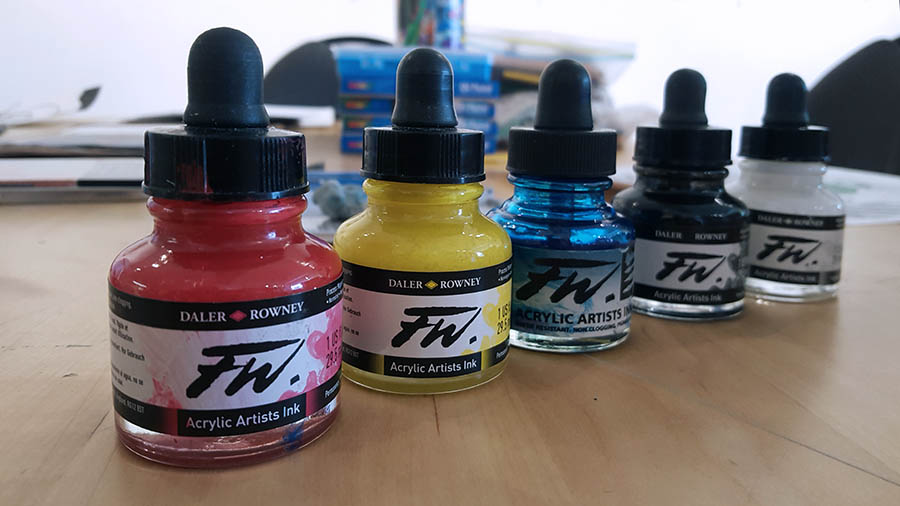
For this exercise I'm using Daler and Rowney Acrylic Artist's Ink: Process Magenta, Process Yellow, Prussian Blue (Hue), Black and White.

For this exercise I’m using Daler and Rowney Acrylic Artist’s Ink: Process Magenta, Process Yellow, Prussian Blue (Hue), Black and White.

Step 1
Starting with the colour, drip the blue ink/paint directly on the paper or canvas. Then drip white ink/paint over the blue.
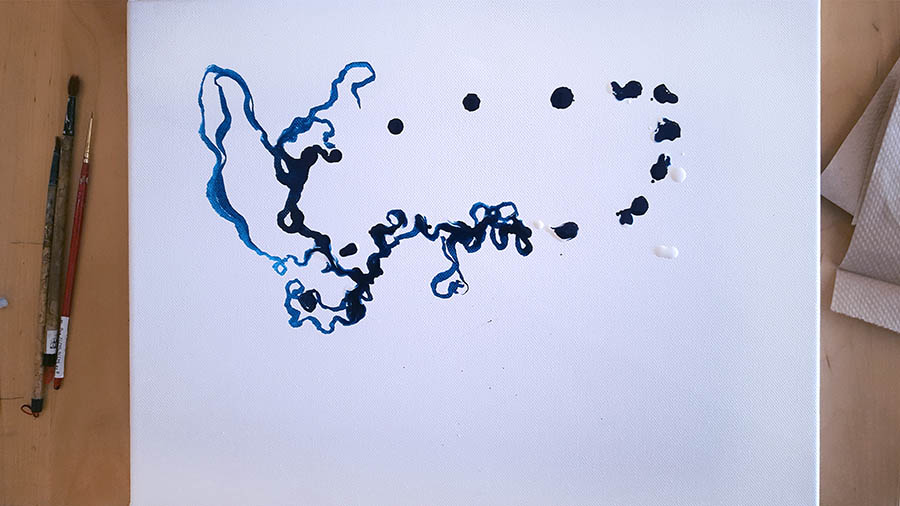
134310-B

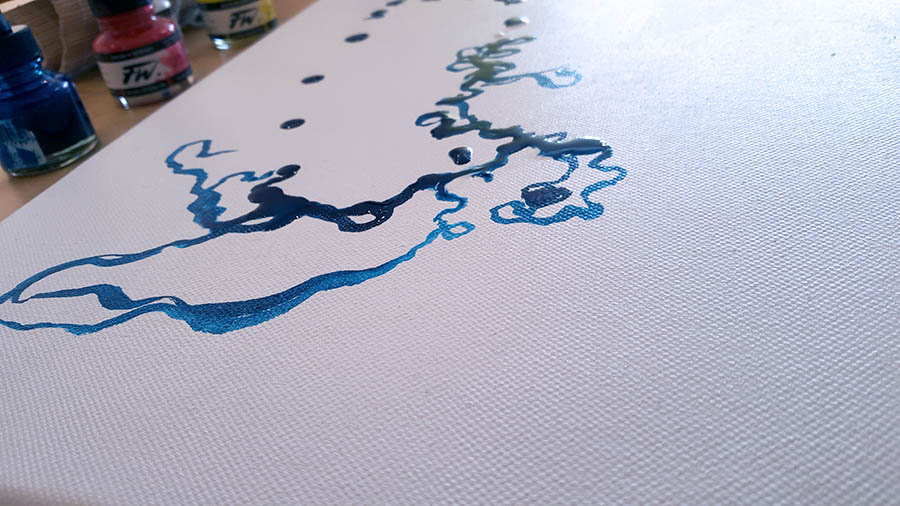
A view on the side so you can see how think the ink is.

A view on the side so you can see how thin the ink is.

Step 2
While the ink/paint is still wet, with the tip of the brush start to slowly “swirl” the white ink/paint into the blue in various directions. Afterwards add drips of red and start to “swirl” that into the blue. You can also drip a little more white. As you start to swirl red into blue, you may begin to notice various shades of purples. With the additional white you will get various tints of blues and pinks.

This exercise requires a light touch with the brush. Therefore, don’t over mix the colours. Work with the tip of the brush and loosely swirl one colour into the other. During this process you want to pay attention to how the primary colours mix to create other colours on the paper/canvas.
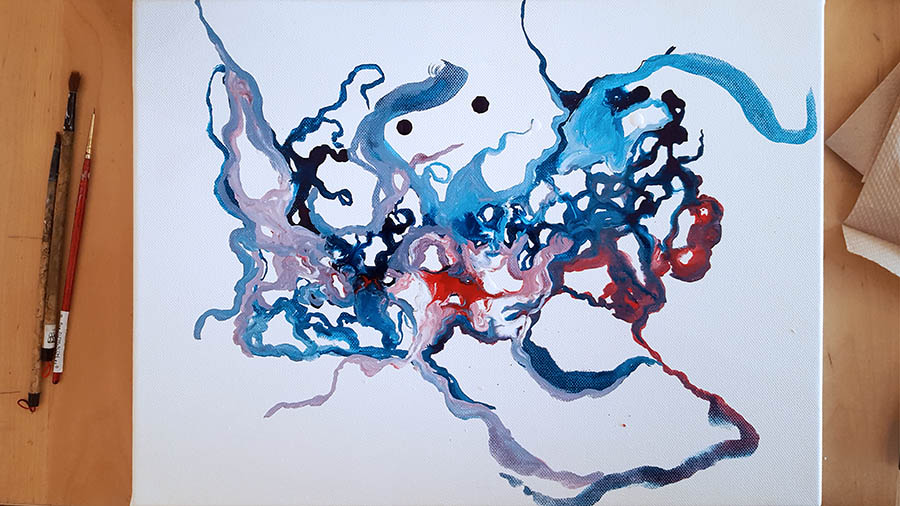
Red and blue mixed together will create, which the secondary colour. Notice when white is added light blues, purples and pinks are created? These lighter shades are called tints.

Red and blue mixed together will create purple, which is a secondary colour. Notice when white is added light blues, purples and pinks are created? These lighter shades are called tints.

Step 3
While the ink/paint is still wet start to drip in yellow and begin to swirl the colour into the red and blue. Depending on where you place the yellow, you should begin to see green or orange form. Yellow and blue will create green, while yellow and red will create orange.

At this point the ink/paint may begin to dry. You can keep adding drips of red then yellow, then blue in stages, slowly swirling them together to create as many colours as you can. Adding in drips of white will give you a lighter/tint of a colour. You can also add drips of black, to get a darker/shade of a colour. Black will also create contrast. You can also swirl black with white to create shades of grey. Pay attention to how the various colours are created. Also notice the how light and dark colours lay next to each other. Continue building up the layers until you’re satisfied with the result.
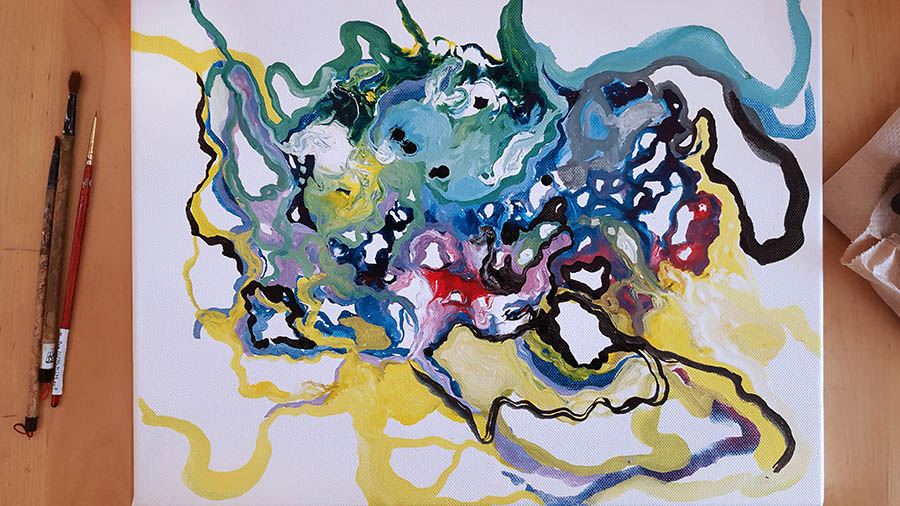
Notice how the primary colours; red, yellow and blue are mixed together to create the other colours.

Notice how the primary colours; red, yellow and blue are mixed together to create the other colours.

Final result
At the end of this exercise, I usually ask myself:

  • How many colours was I able to create by doing this exercise?
  • Do the dark and light colours create contrast?
  • Is there balance in the shapes of the swirls?

There are no definitive answers to these questions. They are only guidelines to help me think about colour harmony, balance and composition.

I recommend doing this exercise numerous times until you are comfortable with blending and mixing colours. This exercise will not only build your technique as a painter but you’ll get a different result each time.

Enjoy!
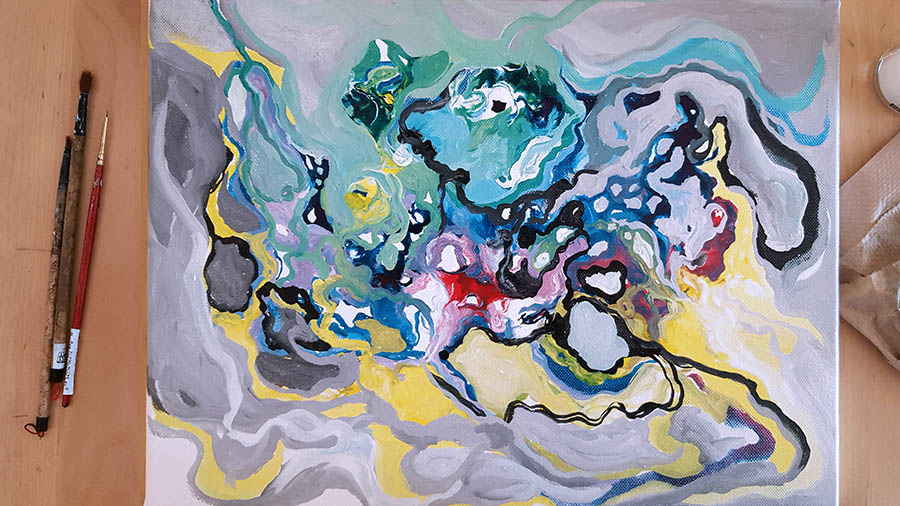
Learning how to mix the primary colours will help you understand colour harmony, balance and composition. It will also help you use warm and cool colours effectively to achieve contrast.

Choosing My Paint Palette

If you search online, or look into any interior design catalogues, go into any paint store etc. you will find 100s if not 1000s of different colours of various shades that are on trend for a particular season. For me, an art supply store with its beautiful array of paint colours is a bit like going into a candy store. Much like candy can rot my teeth an art supply store can rot my wallet, if I’m not careful :-). It’s hard to choose colours inside an art supply store, I mean, do you choose phthalo or ultramarine blue? Cadmium or Hansa yellow? How does an artist decide? Some artists may choose to buy a spectrum of pre-mixed colours to keep in their arsenal and work with as their palette. However, others such as me prefer to mix their own colours and create a palette based on the colours of red, yellow and blue.

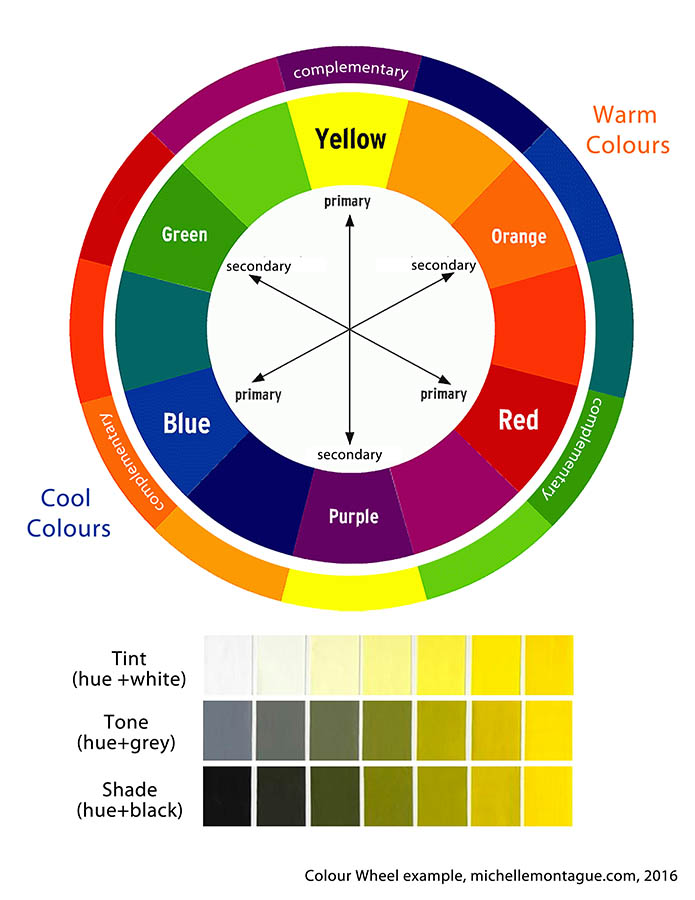
In their purest form the hues of Red, yellow, blue or the Primary Colours as they are known can not be created, through the mixing of other colours. All colours in existence are created from mixing any combination of the primary colours. However, this definition only covers the basics of colour mixing and doesn’t take into consideration the tints (lights) tones (greys) or shades (darks) created when you add white or black. If you want to learn more about Colour Theory, I think the Oil Painting Techniques, followed by the Empty Easel are good places to start online. There are also a number of books, which I’ve cited at the end of this post.

Basically my palette only includes a red-based, yellow-based, blue-based colour, white and black. Noticed I mentioned red, yellow and blue based? That’s right; I don’t necessarily use the purest form or hue of the primary colours. I use a tinted or shaded version of red, yellow and blue as my “primary” or base colour then mix my palette from there. I mix any combination of my bases to create the colour I may need and will mix in different amounts of black or white to create the various tints and shades to get a particular colour. I use base colours such as ultramarine blue, alizarin crimson and cadmium yellow since they offer the greatest range for mixing. Temperature is important if you want to achieve colour harmony, so I try to ensure to mix a balance of warm and cool colours in my palette. However in art rules are made to be broken and there are certainly exceptions to colour mixing! But for me, sticking with a limited palette from the start of a project means I can mix any colour I could imagine, put any colour together and the painting will be balanced. This has been my experience and I’ve been using this approach for over 15 years.

Um… why mix colours? Why not just buy the colour you need?

A friend of mine has asked me this question several times. My tongue-in-cheek response to her has always been because I’m old-school”! But in all seriousness there are a number of reasons why I prefer to mix my own colours:

  1. It’s more cost-effective. Instead of buying a set of 10-15 pre-mixed colours some of which I may only use once, I can buy three primary-based colours and top-up when needed.
  2. Space is a premium in my studio. Having only the primary-based colours take up less space on my already crammed shelves.
  3. I’m not limited to the colours available on the store shelves. Using primary-based colours allows me to mix any colour dreamed of. And if I’m looking for colour inspiration, I refer to my library of colours.
    And mostly importantly:
  4. Mixing my own colours has enabled me to become a stronger artist. Over the years I’ve experimented with different techniques and approaches and have learned what works. Mixing my own colours has allowed me to take chances in my artwork. It has also increased my technical knowledge of working with different paint materials and has led me to include different art mediums such as textiles and oil sticks.

I love colour and it’s an important aspect of my work which is why I spend so much time on building and choosing my colour palette. Since my artwork leans towards abstraction, each colour chosen represents for me certain elements found in Nature, which is a key source of inspiration. For example the shades of blue may represent the sky or water. Whereas pinks, violets, yellows which I use often in my work may represent sunsets, or a jellyfish.  Also when I think of balance I think of Nature – everything is purposeful, nothing wasted and I like to take this approach to my work.

In summary:

  • I mix colours using a red, yellow or blue-based colour,
  • Adding black or white to my base colours, expands the range my colour palette.
  • Temperature is important to achieving colour harmony in painting, therefore I ensure to mix warm and cool colours in my palette.
  • Mixing my own colours to create a palette has added to my technical expertise as an artist and allowed me to experiment with different mediums.
  • In my work I choose my colours based on elements seen in Nature. For example, blue=sky, greens=trees plants, oranges and yellow=sunsets etc.

In a later post, will explain how I mix colours to create my palette.

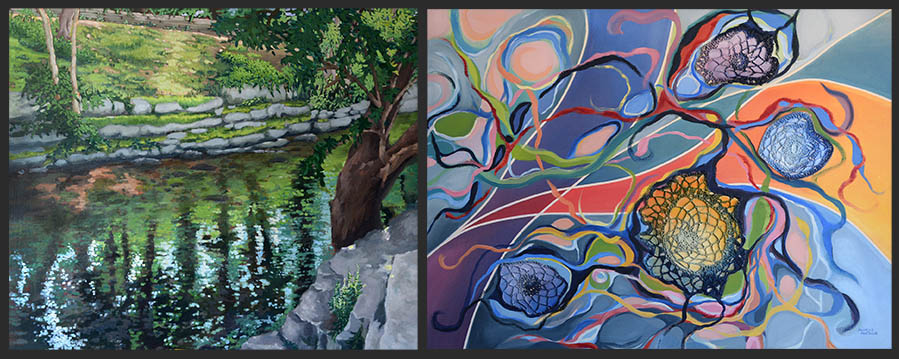
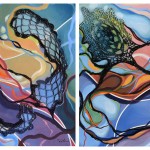
L to R: Sherwood Park (June 2015), acrylic on canvas, Untitled (April 2014), crochet, acrylic, oil stick on canvas. I mixed the primary colours of red, yellow and blue to create these two very different paintings.

Citations in this post:

Using the Color Wheel: Color Theory Tips for Artists and Painters, date accessed March 27, 2016 – The Empty Easel:
Colour Theory For Painters, date accessed March 27, 2016 – Oil Painting Techniques

For further reading on Colour Theory:

Goethe, Johann Wolfgang Von. Theory of Colours. Cambridge, MA: M.I.T., 1970. Print.
Edwards, Betty. Color: A Course in Mastering the Art of Mixing Colors. New York: Jeremy P. Tarcher/Penguin, 2004. Print.
Itten, Johannes, and Ernst Van Haagen. The Art of Color The Subjective Experience and Objective Rationale of Color. New York: Reinhold, 1966. Print.
Itten, Johannes, and Ernst Van Hagen. The Elements of Color a Treatise on the Color System of Johannes Itten Based on His Book The Art of Color. New York: Van Nostrand Reinhold, 1977. Print.

Patterns in Nature: My Inspiration

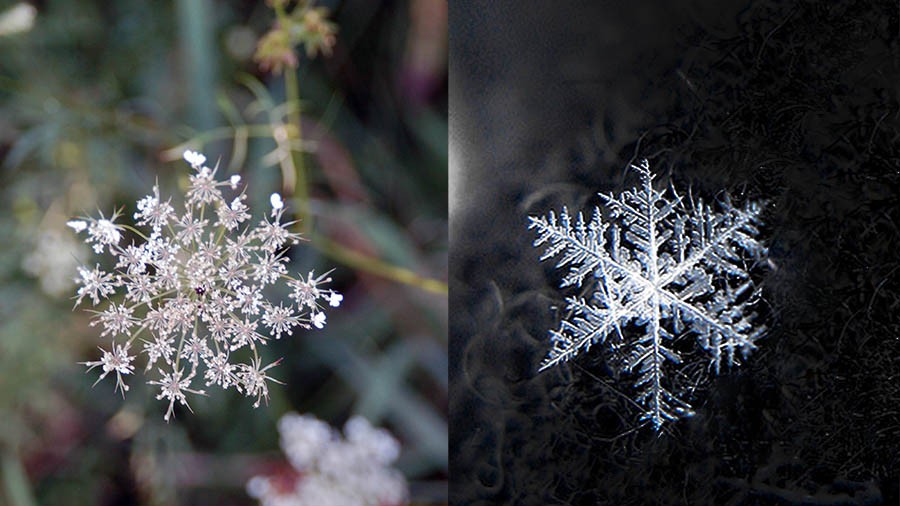
Queen Anne's Lace (Wild Carrot) flower and a snowflake

This Queen Anne’s Lace (Wild Carrot) reminds me of a snowflake.

In my previous post I mentioned that Nature, family and music are often the source of my inspiration. These sources of inspiration are triggered by a specific moment, a memory or a feeling. For example, the sweet smell of pine trees on a dewy morning, or a family of Mallards rhythmically floating on the lake. Or the shadows that trees cast on the ground. Or mismatched buttons on a person’s coat. I think you get the picture… One such spark of inspiration is a memory of my mother whom was taking extra biology courses to upgrade her skills in health care. I was young at the time, maybe 11 but it was something that made an impression on me. She had a series of medical and science textbooks and I remember spending hours repeatedly looking through them, studying each illustration in careful detail. One day my mother pointed to a plant cell diagram in one of her textbooks and asked if I could draw one like it in her notebook. Thinking as children do at that time, it never occurred to me to simply trace the illustration into the notebook (now thinking back it would’ve saved a lot of time!). However, I studied the illustration and carefully drew every detail neatly into her notebook. I was quite proud of that first diagram when completed. I can only guess my mother thought I did a good job. She didn’t say so directly, but I drew several more illustrations for her thereafter, mostly of various plant and animal cells, but also of organs, skeletal and muscular structures. Why am I sharing this story? Well it was that moment, that memory that I discovered my interests in not only the organism itself but the commonalities shared across all living things.

Over the years, I’ve learned all living things share common patterns expressed visually or rhythmically. The patterns are found repeatedly in not only organisms but in other forms such as sound waves, sine waves, and electromagnetic fields etc. Some people may refer to these repeating patterns as Fractals. A Fractal is a never-ending pattern that repeats itself at different scales – a fascinating subject on its own and warrants a separate discussion. However if you’re interested in learning more about Fractals here is a good place to start, but there are plenty of other resources on the web.

What I’m interested in are the natural patterns found in living things and the commonalities that connects us all. My inspirations lie in identifying and expressing elements of these patterns through my artwork. For example in my Sanctum or Organics series, certain lines that repeat mimic the movements of water, wind or a wave in a person’s hair. Whereas the shapes may represent patterns seen in flowers or pine combs. These elements expressed in my paintings are the patterns seen across all life and bind all. Seemingly separate on the surface, all things live and move together as one – Like a field of sunflowers swaying in the wind. The things that connect us are my inspiration and serve as the underpinnings for my work.

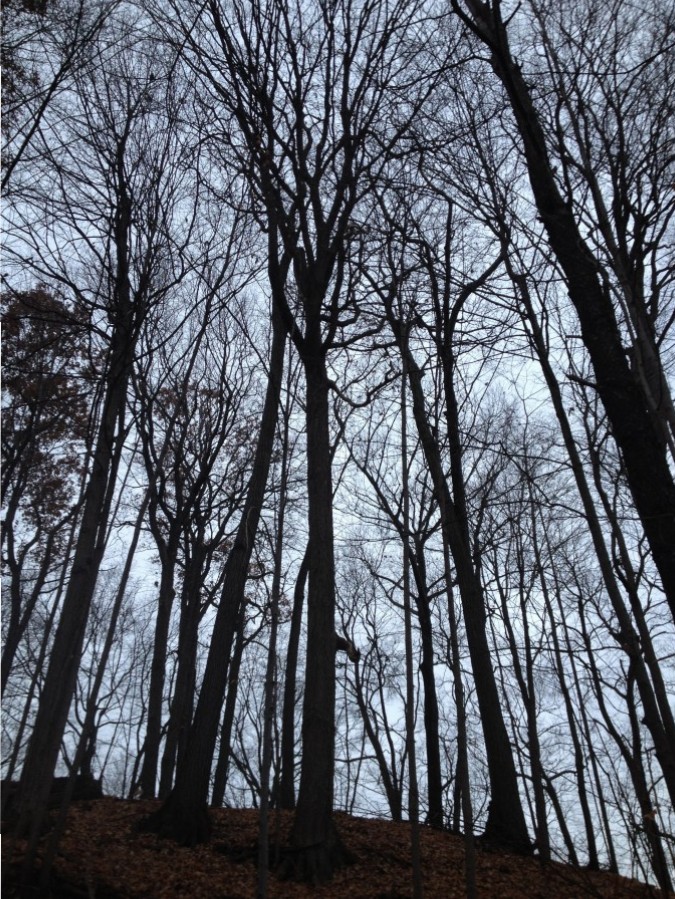
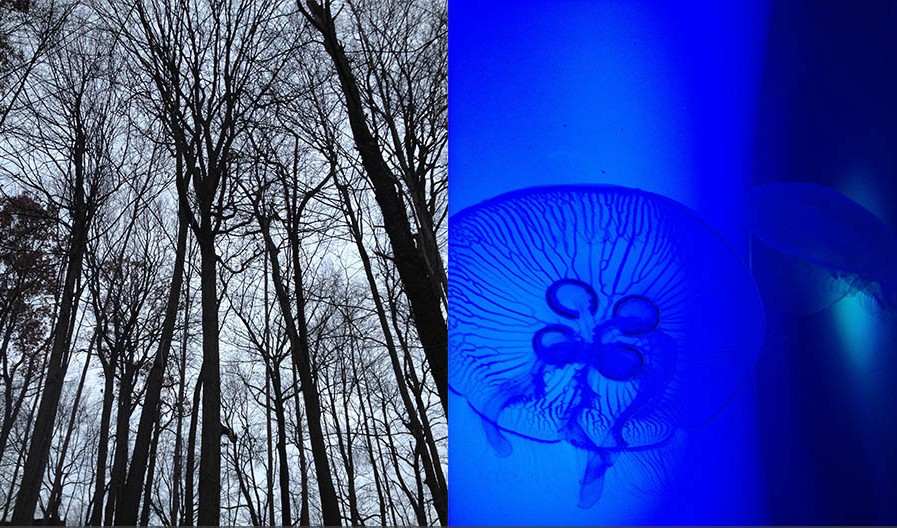
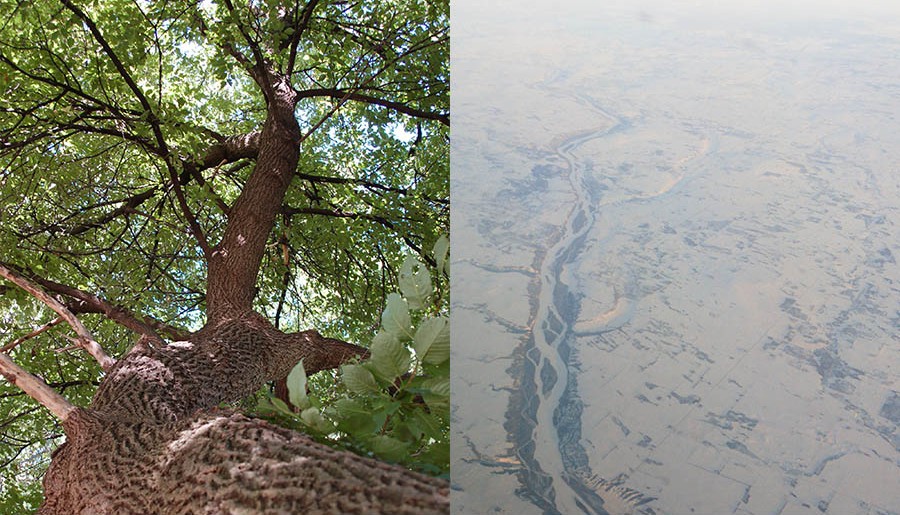
Red Oak trees vs. Moon jellyfish

Growth patterns in the branches of the might Red Oak trees are similar to the patterns in the tentacles of the Moon jellyfish.

Looking up above and down below there are natural pattern formations.


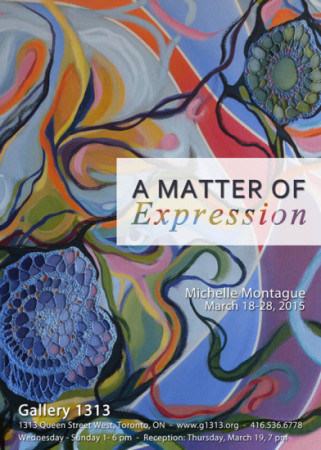
Upcoming Exhibition at Gallery 1313, March 18-29, 2015

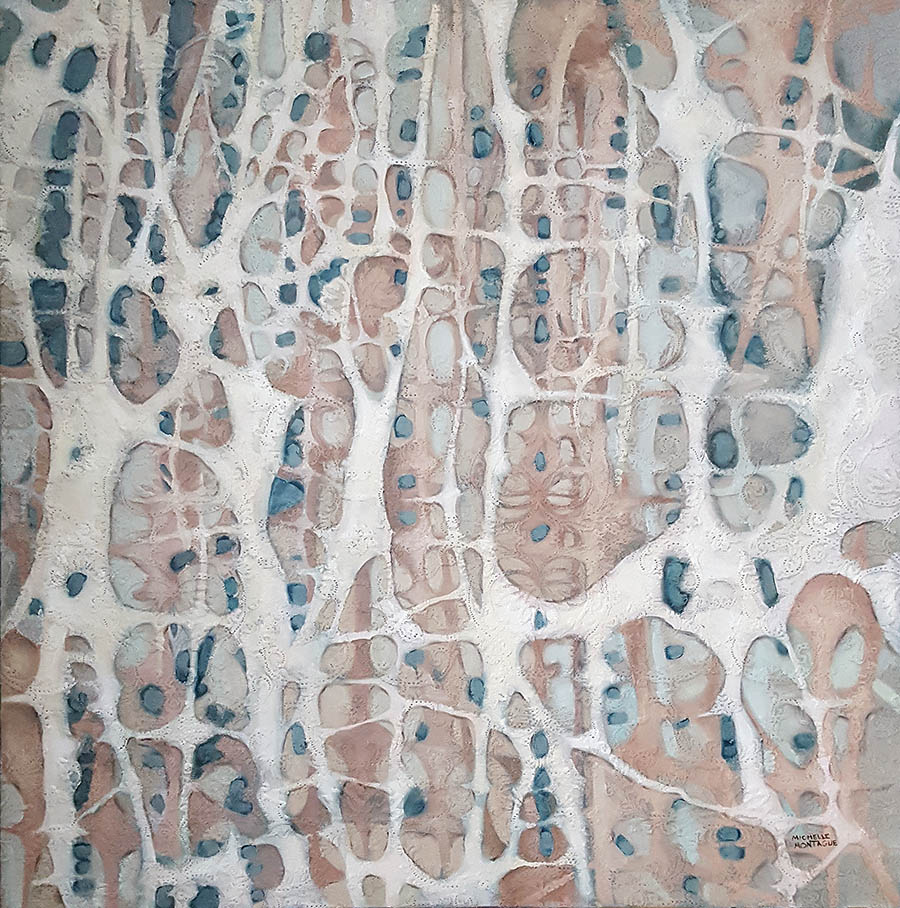
Montague evite1_MatterofExpressionMar2015In “A Matter of Expression” cell-like organisms alternate between growth and decay and, light and shade. They guide the viewer through an exploration of nature, life energy, and rejuvenation. Using crochet, acrylic and oil sticks, Michelle explores interlocking gestural lines and the arrangement of shapes and colours. These elements serve as metaphors of our oneness with Nature.

Gallery 1313
1313 Queen Street West, Toronto, ON
Hours: Wednesday-Sunday, 1-6pm
Reception: Wednesday, March 18, 7 pm

Click here for more information about Gallery 1313


New Works Now Posted

Sanctum – My current body of work is now posted to the Paintings gallery.

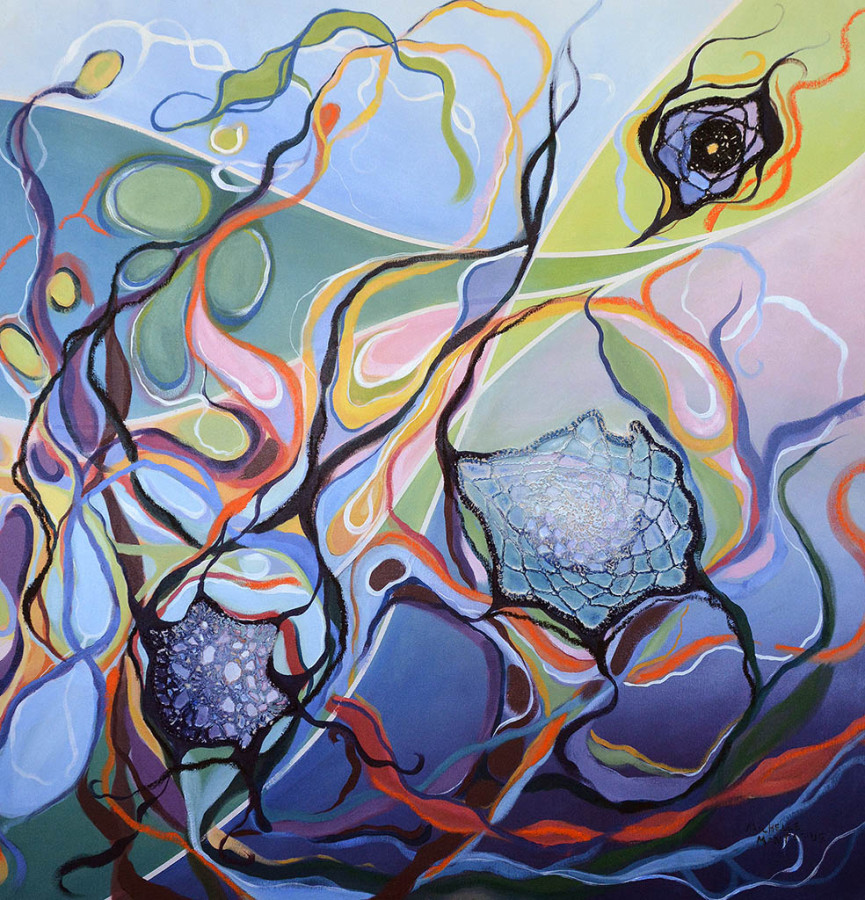
Moment Of Bliss,  Acrylic, crochet, oil stick, 38" x 38", March 16, 2014,

Sanctum

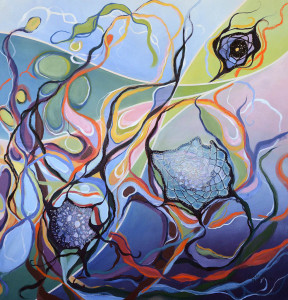
Sanctum (January 2014 – March 2015) is an interpretation of patterns found in Nature. In this body of work, I use crochet, acrylic and oil sticks,  to create interlocking gestural lines and arrange shapes and colours. These elements serve as metaphors of our own indivisibility and oneness with Nature.

New Works Added to Organics Series

New works have been added to the Organics Series in the Paintings section. Be sure to check it out!
Here’s a sneak peak of two of my newer paintings. Both are mixed media – Embroidery, acrylic and oil stick:

Untitled_July272013 Untitled_Aug22013


Organics

Organics (April – September 2013 ) In this series,  I use embroidery, acrylic and oil sticks to explore patterns we may find in Nature and their relationship to the greater world. The combination of overlapping gestural lines creates a world immersed in fantasy, yet arrangement of shapes and colours resembles patterns found in living organisms – the building blocks of Life.  Through this body of work is a continuation of the study of Nature, the life energy and its everlasting process of rejuvenation.

Impressions of Kinetic Creation